Cooking Club grilling guide

I was never really taught how to grill, I kind of just figured it out and am still figuring it out with trial and error. I’m guessing many of you are in the same boat, so I did some research and also used what I’ve learned to create a short guide with some grilling FAQs. […]
I was never really taught how to grill, I kind of just figured it out and am still figuring it out with trial and error. I’m guessing many of you are in the same boat, so I did some research and also used what I’ve learned to create a short guide with some grilling FAQs.
Tools you need to succeed!
Let’s start with the tools I recommend getting for the best grilling results and experience.
- A grill – you can decide whether you want charcoal, gas, or electric. I’ve only ever used gas and recently bought this electric grill since I’m not permitted to have gas on my little condo deck.
- Grill brush – this one is the most recommended, I just bought it!
- Long tongs – so you don’t burn yourself! Make sure they are stainless steel, not plastic.
- Two spatulas – a flexible fish spatula and a sturdy long handle grilling spatula.
- Instant read thermometer – for ensuring properly cooked meat, this is the only one I’ll ever use.
- Basting brush – for brushing marinades and sauces on meat as they grill. This brush is the best and heat resistant.
Always preheat your grill
Before you start grilling, turn your grill on high and let it heat up for 10 minutes. If you put food on grill grates that aren’t properly heated, your food is going to adhere to the metal, making it near impossible to get off without tearing/breaking.
When and how to clean your grill
The key to properly cleaning your grill is to do it before you put your food on the grill rather than after. Once you’ve heated your grill up for 10 minutes, that heat should make any burnt bits easy to scrub off with your grill brush.
Once you’ve gotten all the gunk off, lightly oil the grates by dipping a paper towel or cloth in oil and use metal tongs to rub it onto the grates. This will help ensure your food does not stick (especially important when cooking fish)!
How to know what temperature to use
If you ever wonder what temperature you should be grilling on, use this as your general guide. Just like stoves and ovens, all grills are different, so it’ll take some time to get to know your unique grill.
- High (450F+) – use this temperature if you want to do a quick and hard sear on thinner meats (like a skirt steak) or quick cooking veggies (like asparagus).
- Medium-high (375F-450F) – this temp is better for meats or veg that take a bit longer to cook through but you still want to have a nice crust (think burgers, slower cooking or thick cut veggies, or fish)
- Medium (325F-375F) – I don’t really ever grill at a heat this low, but you would use this temp if you were cooking something that takes a long time, like a whole chicken.
Stop peaking – keep that lid closed!
It’s tempting to open the grill to check on things, but every time you open it up, you’re losing all of the heat that has built up to help your food cook at an even rate without burning. If you open it too much, it won’t cook evenly and will take longer.
If it’s really stuck, leave it alone.
Your proteins and veggies will tell you when they are ready to be flipped. If you go to flip them and it feels like you’re having to make too much of an effort or causing damage/tearing, then let it cook for a few more minutes and try again.
Keep it juicy and let your meat rest!
It’s tempting to slice up your hot steamy meat right away, but letting it rest for 5-10 minutes allows those delicious juices to rest and redistribute so that they don’t come pouring out the moment you cut into it. Juices staying inside the meat = juicy flavorful meat.
Use an instant read thermometer
To avoid over or undercooked meats and fish, know what temperature you’re aiming for and use an instant read thermometer. As mentioned before, never ever cut into a piece of meat to see if it’s done!
The best way to shape a burger and other burger tips
Don’t mix your meat – mixing and working the meat will make the proteins tighten up, resulting in a dense, hockey-puck-like burger. Instead, just form each portioned out hunk of meat into a patty and season after (more on that below).
Always form the burgers larger than the bun – you’ve probably noticed that when you cook burgers, they shrink in size. For that reason, we want to make them extra large in diameter so that they fit your bun perfectly.
Make a dent in the center or smash it – you may also notice that when you grill burgers, they puff up in the center. To prevent this, you can make a small dent in the center using your fingers. Another way to avoid this is to make smash burgers.
Season the patties (liberally) after you formed them – since we don’t want to manhandle the burger meat, season both sides with plenty of salt and pepper after you’ve formed the patties rather than mixing it in with your hands.
Grilling recipes!

You can find all grilling recipes by filtering by cooking method “grilling” or clicking here. Below are a few of my favorites!
- Chipotle Pineapple Pork Skewers with Cilantro Chipotle Yogurt
- Grilled Chicken and Corn Tacos with Cilantro Feta Lime Sauce
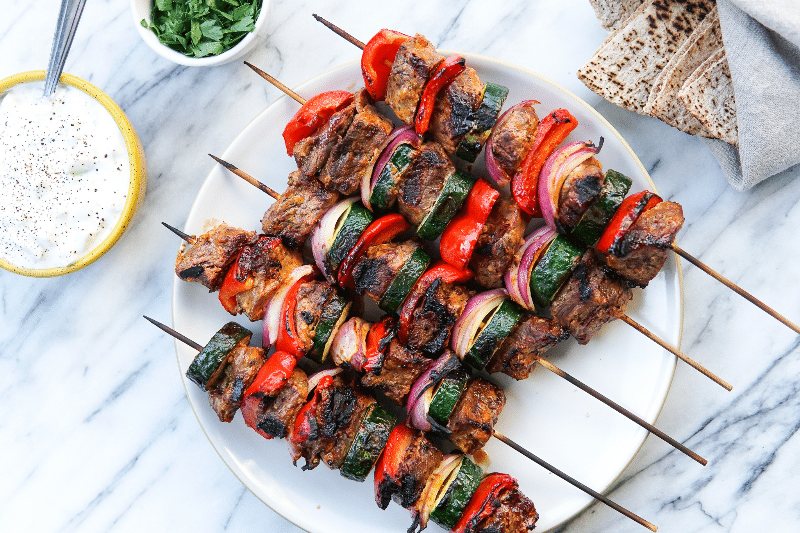
- Greek Beef or Chicken Kebabs with Tzatziki + Pita
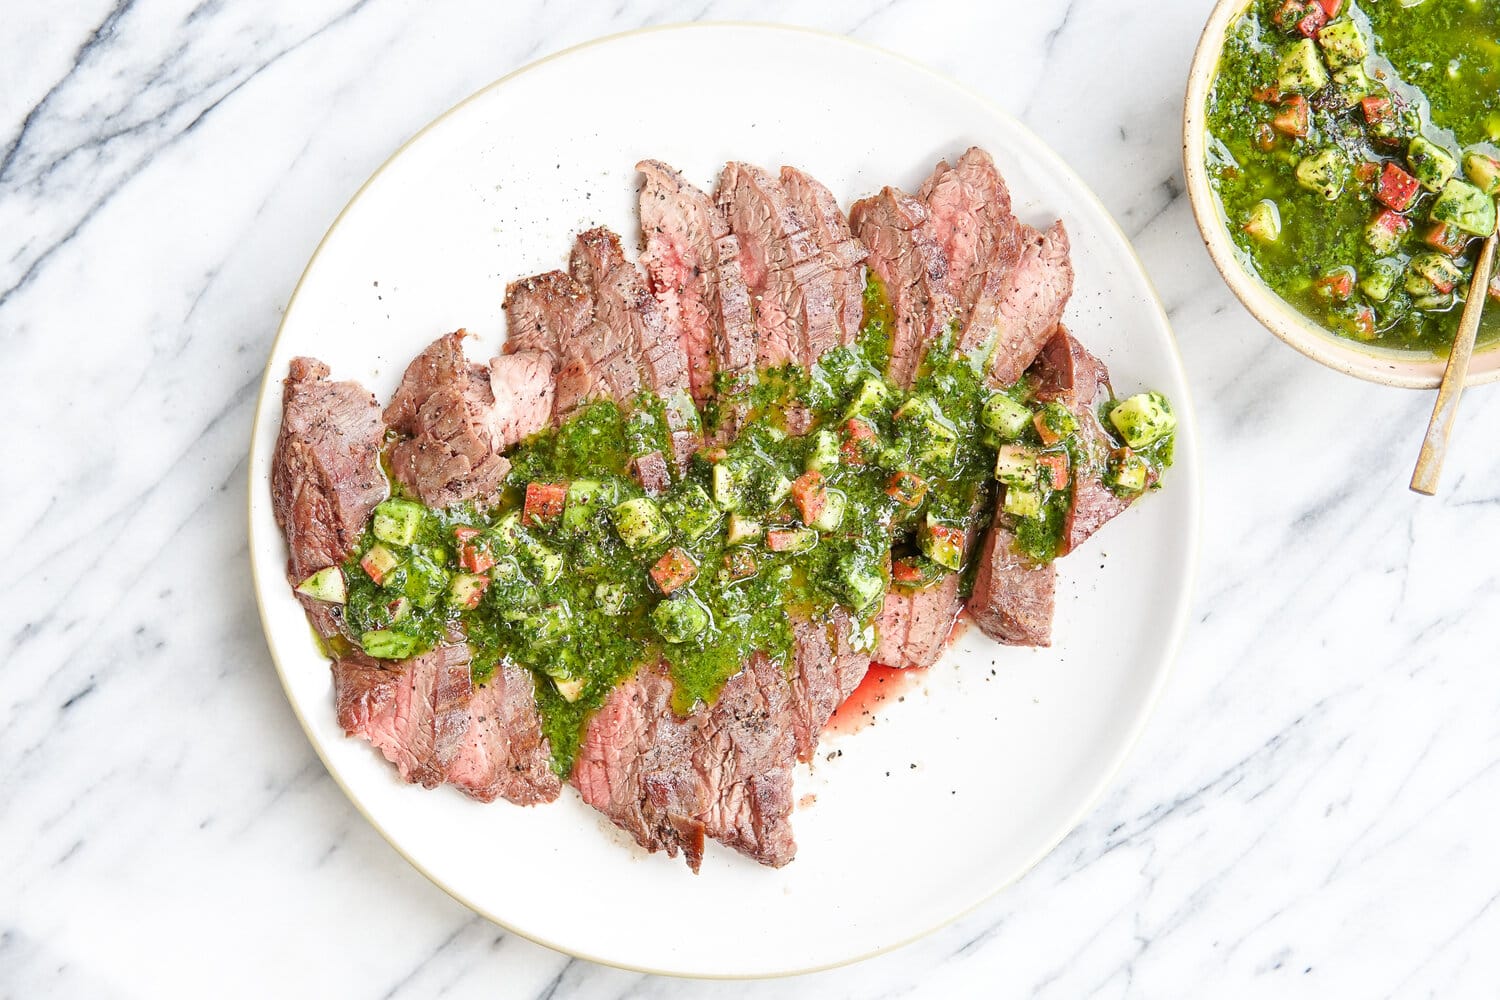
- Grilled Steak with Radish Avocado Chimichurri
- Grilled Street Corn Salad
- Blue Cheese BBQ Burgers with Caramelized Onions
- Honey Mustard Grilled Chicken
- Guacamole Chipotle Cheese Burgers
- Grilled Pesto Cherry Pizza
- Miso Honey Garlic Grilled Chicken
Thanks for reading! You may have known a lot of these tips already, but I hope you learned something that will make your summer grilling easier and more tasty!
If you have any questions or other grilling tips or hacks you want to share, comment below!


leave your comments!