

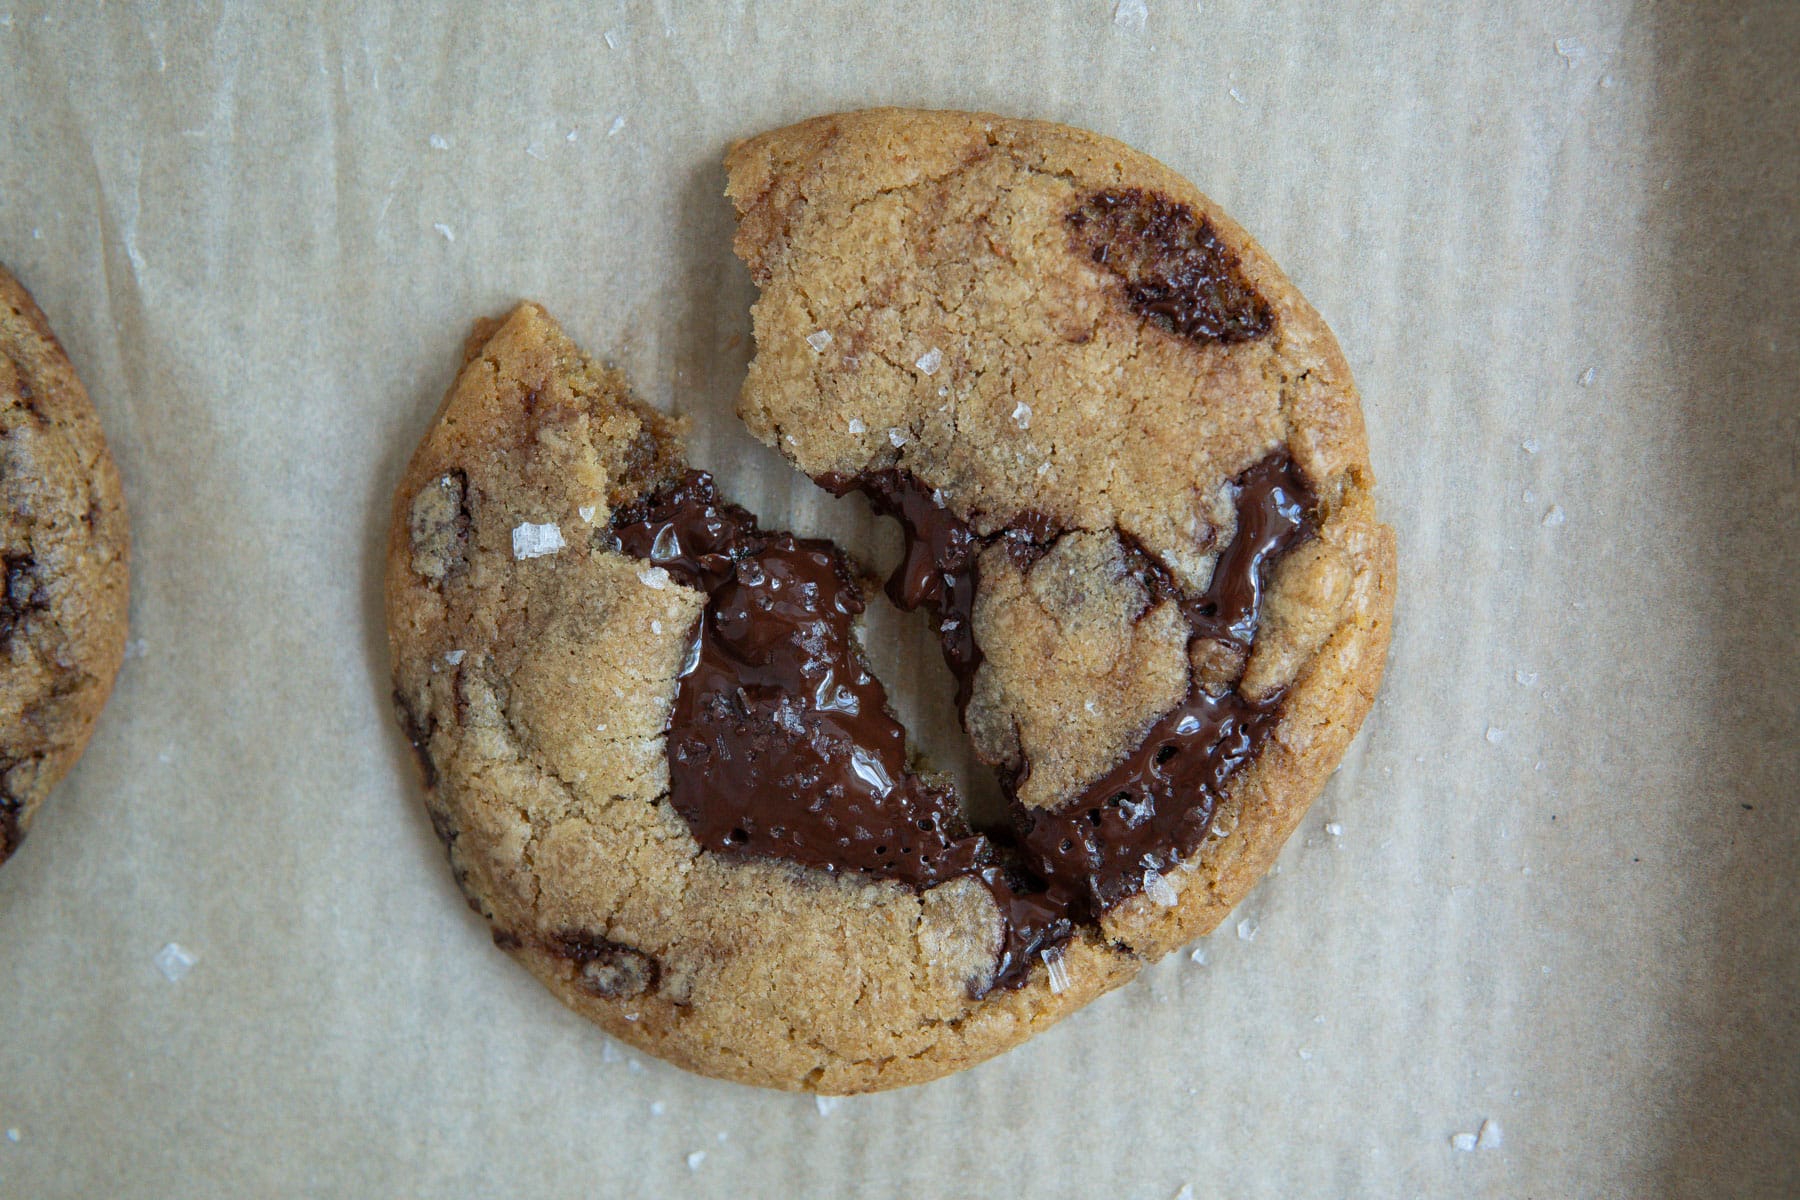
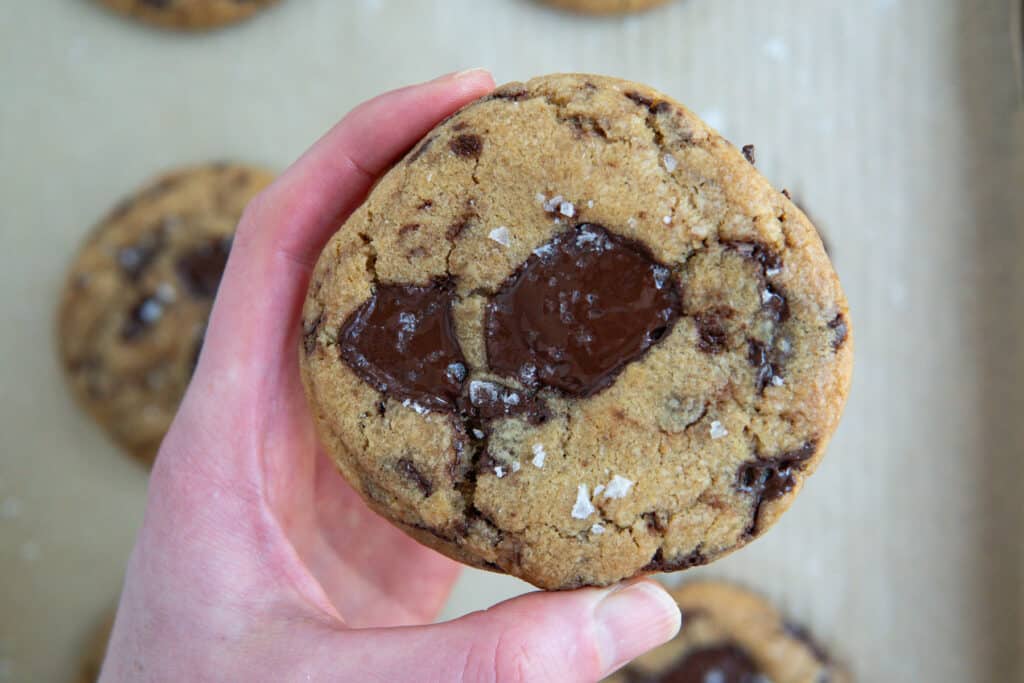
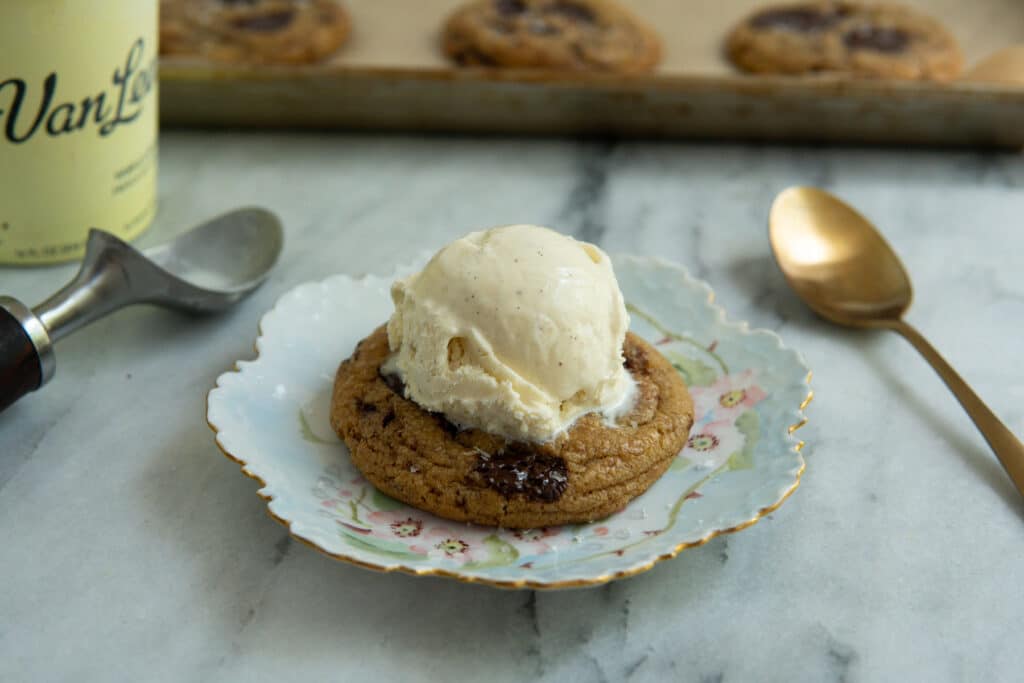
Every year I make a batch of chocolate chip cookies for Dean’s birthday and every year I try a different recipe to find the winner. This recipe from Broma Bakery blew us both away with the extra step of browning the butter, which adds a rich, nutty, caramel-like flavor. If you like a slightly crispy edge and a doughy center, you’re going to love these!
 Servings 14 cookies
 Prep Time 20 minutes
  Cook Time 12 minutes
 Ingredients
- ¾ cup (168g) butter*
- 1 cup (200g) packed light brown sugar
- ¼ cup (50g) granulated or cane sugar
- 1 large egg + 1 large egg yolk
- 1 tbsp vanilla extract
- 1 ¾ cup (220g) all-purpose flour
- ¾ tsp baking soda
- ¾ tsp kosher salt
- 1-1 ½ cups (150-225g) dark chocolate chips, chunks, or roughly chopped dark chocolate
- Flaky salt, for topping
- *If using salted butter, reduce the salt to ½ teaspoon.
- Block of brown sugar? ~ Place it in a microwave-safe bowl, cover with a damp paper towel, and microwave in 30 second increments, squeeze out any lumps with your hands.
Cookie pro tips:
- Use a light colored pot to brown the butter, like stainless steel so you can see when the milk solids turn that dark golden brown.
- Use your digital scale for best results.
- Don’t skip the dough chilling step – it helps develop more flavor and ensures the cookies are the correct texture.
- Only bake as many cookies as you plan on eating right away. At most I like to bake 6 cookies at a time – that way they won’t spread into each other and if you over or underbake that batch, you can do better next time. Stash the rest of the balls in the fridge (if you plan on baking more that week) or freezer (for your future cookie cravings).
Notes from Broma Bakery:
- If you want to be really precise about it, my butter is always at 140 grams after being browned. If you have less left over you can add milk until it reaches 140 grams!
- Browned butter can evaporate off at different levels, so sometimes you may be left with less liquid than others. For this reason, we recommend adding the flour in increments to make sure you’re not adding too much and left with a dry dough.
- Every oven is different, so make sure you keep an eye on your cookies. We recommend taking them out right when they have puffed up and just turning golden brown on the edges. The cookies should still be a little underdone in the middle. If you leave them in past this point they will not have that gooey center you’re looking for.
Instructions
To brown the butter:
- In a small pot over medium-low heat, melt the butter. Use a silicone spatula to stir and scrape the butter from the bottom and sides of the pan every 10 to 15 seconds. After about 4 minutes, the butter will foam, then over the next 3-4 minutes, the foam bubbles will get smaller.
- Continue to cook the butter, occasionally stirring/swirling and scraping with your spatula, until the butter begins to take on a golden brown color, nutty aroma, and you see small floating brown bits (these are the milk solids in your butter separating and toasting). Once the butter is golden brown, remove it from the heat and transfer to a large bowl to cool for at least 10 minutes, scraping out all the little brown bits.
To make the cookies:
- In the same large bowl with the cooled brown butter, add the sugars and use a silicone spatula to mix together. Add the egg, egg yolk, and vanilla and mix well.
- Add in the flour, baking soda, and salt and fold until no streaks of flour remain, being careful not to overmix your batter (it will mix some more when you add the chocolate).
- Fold in the chocolate until evenly distributed. Do not over mix! Cover and transfer to the fridge for at least 30 minutes or overnight.
- Preheat the oven to 350°F. Line a baking sheet with parchment paper.
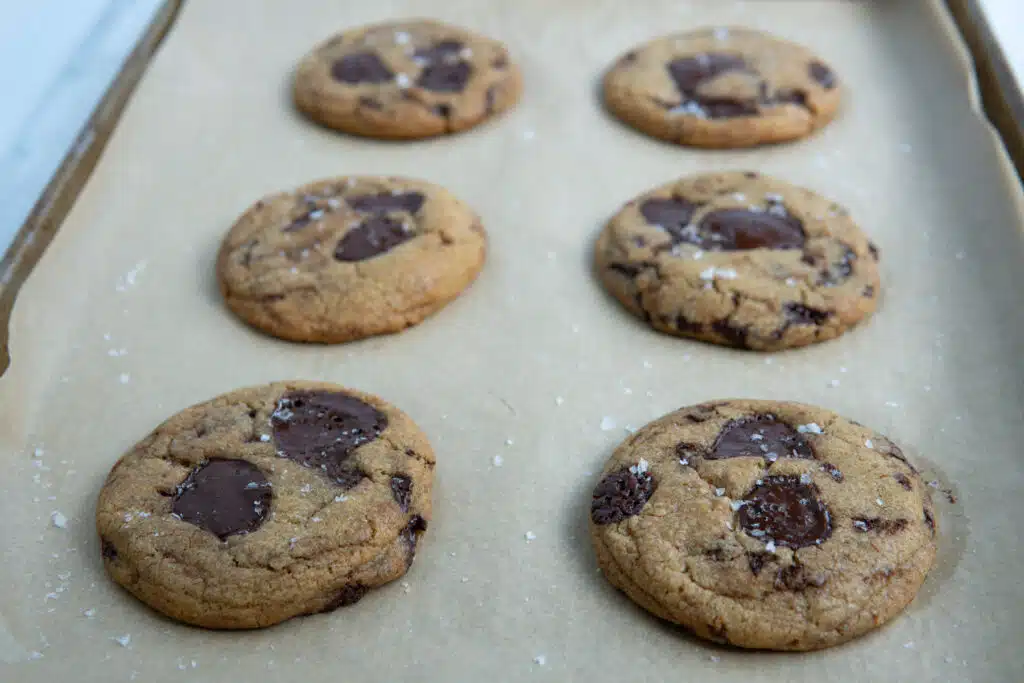
- Remove dough from the fridge and let it sit out until it’s scoop-able, about 20 minutes. Scoop into 14 (2 oz) balls, roll them in your hands, then place on the baking sheet 2-inches apart. I prefer to bake 6 at a time.
- Bake until the cookies have puffed up and are very light golden brown around the edges but still somewhat soft in the middle, 10-14 minutes.
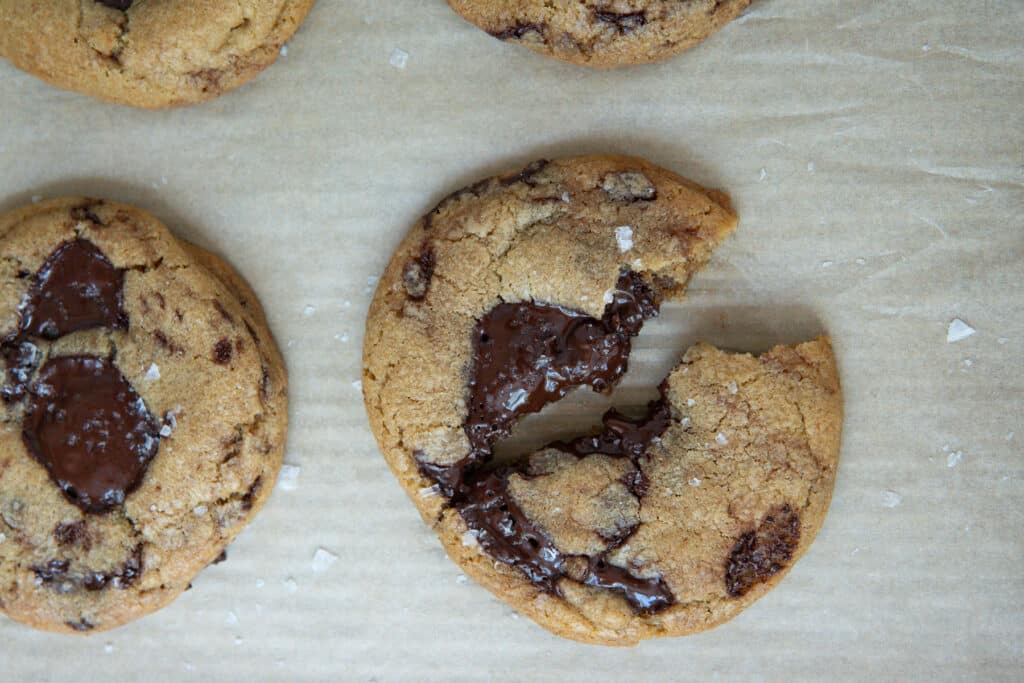
- Remove the baking sheet from the oven, sprinkle with flaky sea salt (if using), and allow the cookies to cool slightly before serving.
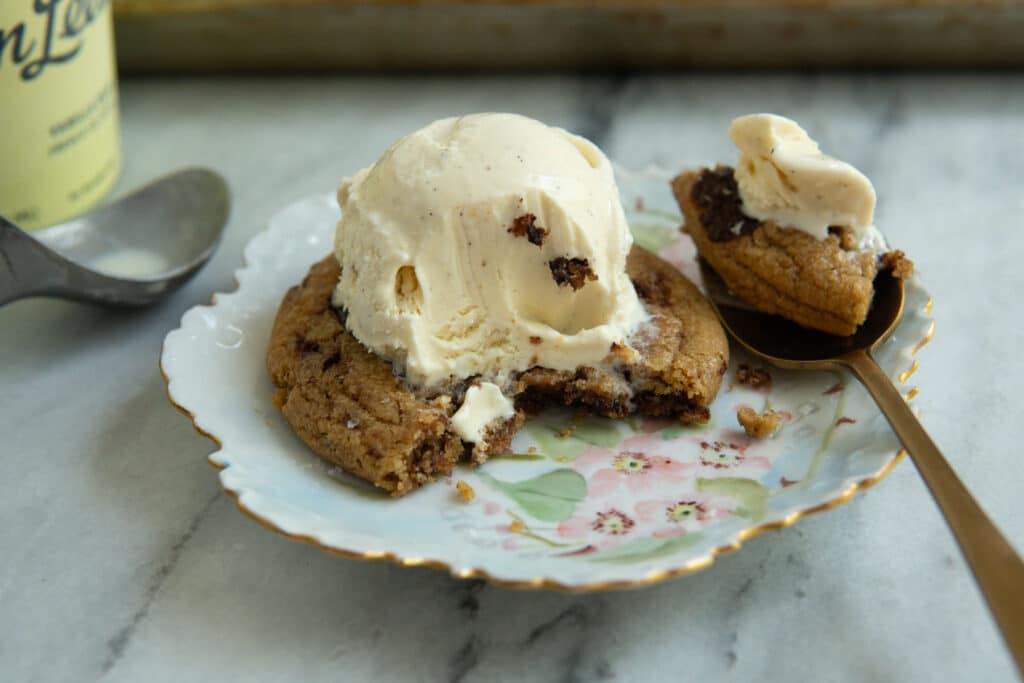
- They’re best just warm with a glass of cold milk or topped with a scoop of vanilla bean ice cream.
Items you can prep ahead (optional)
- Brown the butter
- Make the batter, chill, and roll into balls. Store in the fridge
Substitutions:
- To make gluten-free, use a GF all purpose flour.
- These can’t be made vegan or dairy-free.
Storage:
- Store leftover cookie dough balls in an airtight container in the fridge for up to 5 days or freeze for up to 3 months.
- Store leftover baked cookies in an airtight container at room temp for up to 5 days.
Leftovers + Repurposing:
- If you’re baking the cookies from frozen, let them sit out for 20ish minutes to soften. They shouldn’t be rock hard.
- If baking from the fridge, just let them sit out for maybe 10 minutes before baking.
- If you have leftover baked cookies, you can eat them at room temp or pop them in the microwave to warm them up a bit.
- Chop them up and put them on top of ice cream or dunk into cold milk!


leave your comments!